The Ultimate DIY Christmas Gift Basket: Pink, Red, & Personalized!
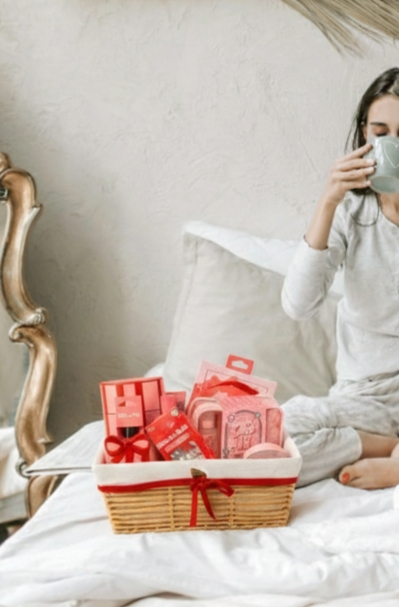
Finding the perfect holiday present can often feel like a seasonal struggle, but nothing beats the charm and thoughtfulness of a handmade gift. If you are looking for a creative way to show someone you care without spending hours wandering through crowded malls, a DIY Christmas Gift Basket is the ultimate solution. This year, we are moving away from generic, pre-packaged sets and leaning into a vibrant, high-glamour aesthetic featuring playful shades of pink and bold festive red.
This curated basket is more than just a collection of items; it is a personalized experience tailored for the beauty lover in your life. Whether you are gifting a trendy teen, a close friend, or a family member who deserves a moment of self-care, this “Pink and Red Glamour” theme strikes the perfect balance between festive spirit and modern style. Follow our easy guide to assemble a professional-looking, heartfelt gift that truly shines.
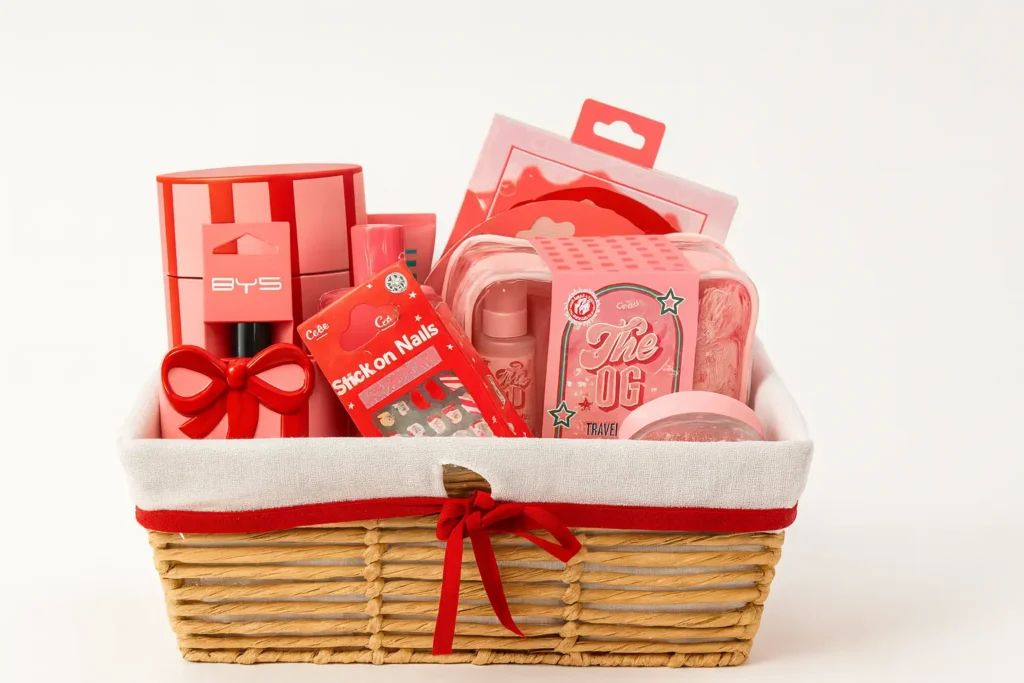
Looking for a thoughtful, easy, and handmade gift this holiday season? This DIY Christmas Gift Basket is the perfect solution! Featuring a fun pink and red glamour theme, it’s a wonderful personal present for friends, teens, or anyone who deserves a little self-care.
📝 What You’ll Need (Shopping List)
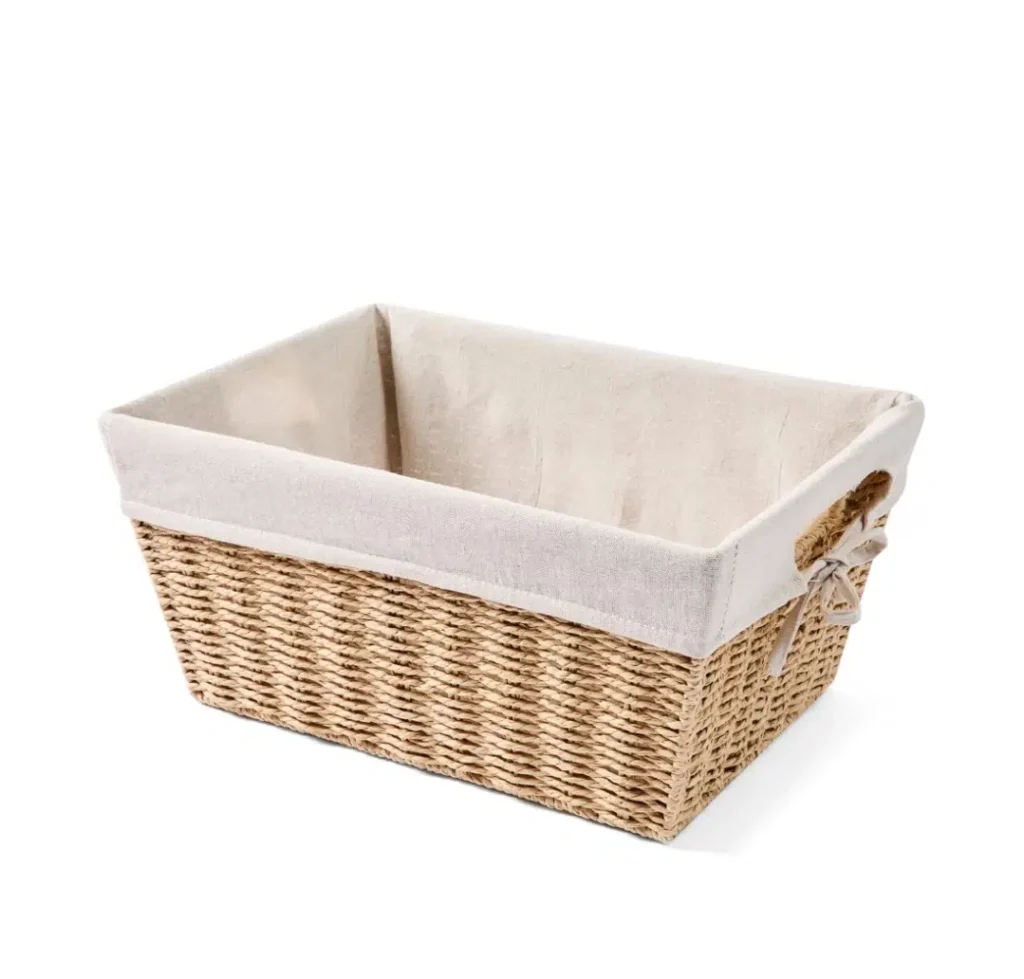
The Container
- One medium-sized wicker or woven basket with a fabric lining.
The Contents (Focus on Pink/Red Beauty & Glam)
- Beauty Essentials: Lipstick, lip gloss, press-on nails, or small makeup palettes (all in a pink/red color scheme).
- Self-Care: Face masks, bath bombs, or small scented sprays.
- Accessories: Hair scrunchies, clips, or a ribbon-shaped accessory.
- Personal Touch: A handwritten tag or small note.
- Fillers & Finishing:
- Tissue paper or shredded paper filler (white or light pink).
- Red ribbon for the basket bow
Step-by-Step Instructions: Creating Your Handmade Gift
Prep the Basket and Create Structure
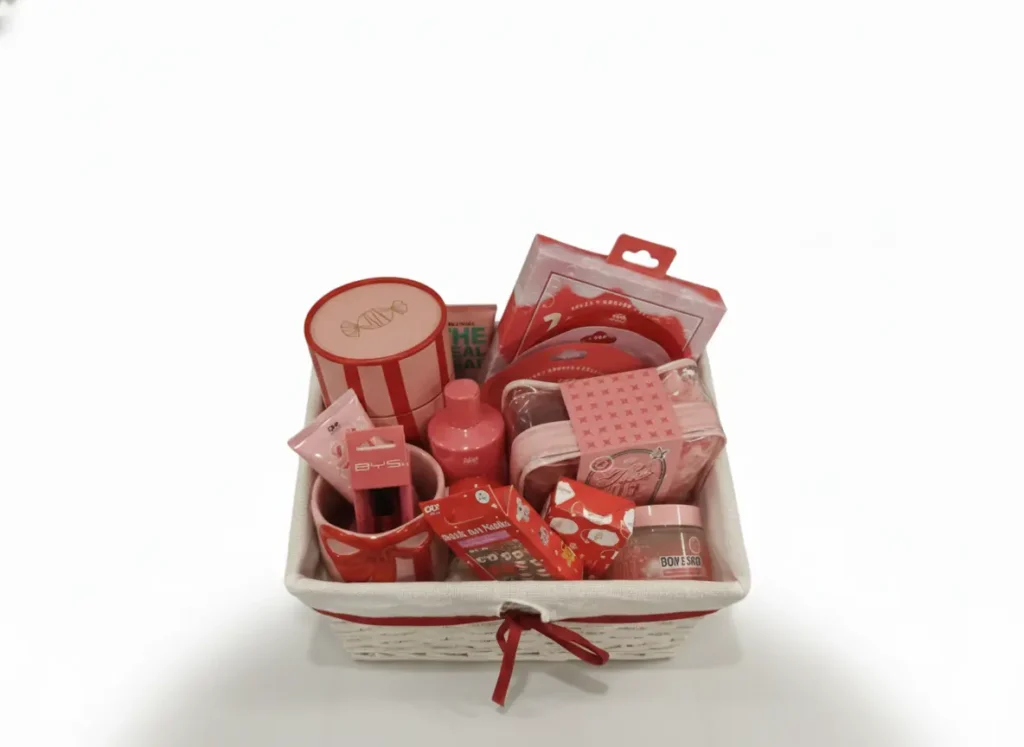
Add the Filler: Place several sheets of crumpled tissue paper or shredded paper filler inside the basket first. This is the easy secret to making your DIY gift basket look full and professional—it elevates the contents, ensuring they peek over the rim.
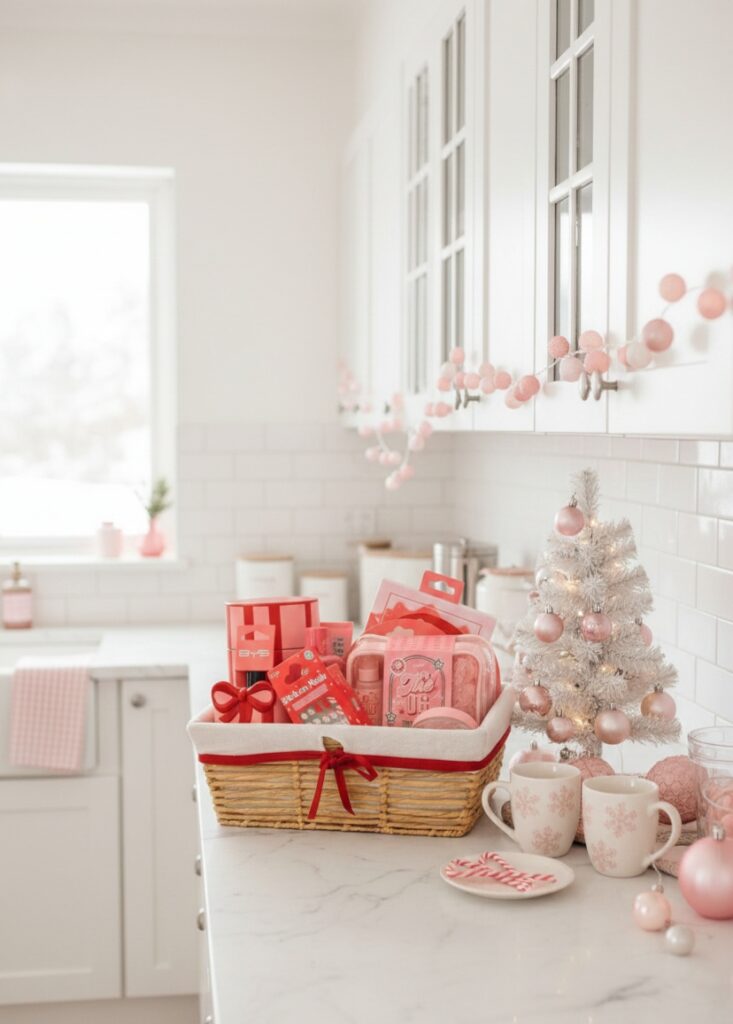
Add the Decorative Ribbon: Ensure the red ribbon that wraps around the middle of the basket is tied in a neat bow at the front.
Step 2: Anchor the Large Items for Height
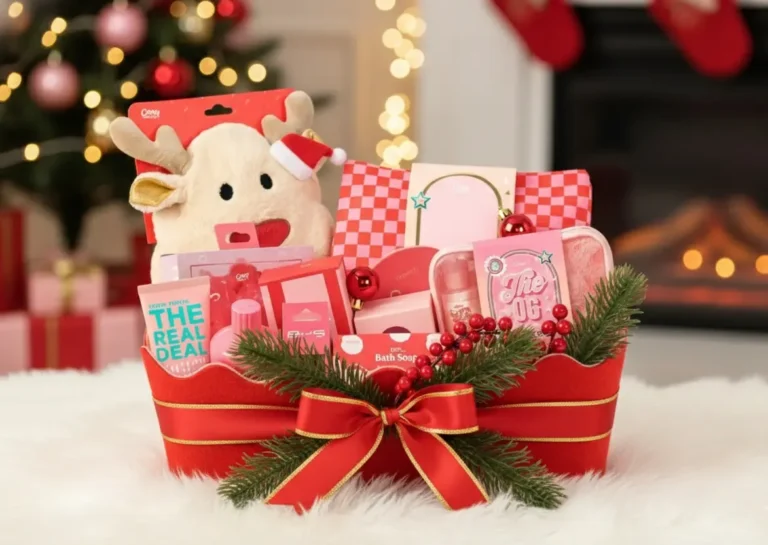
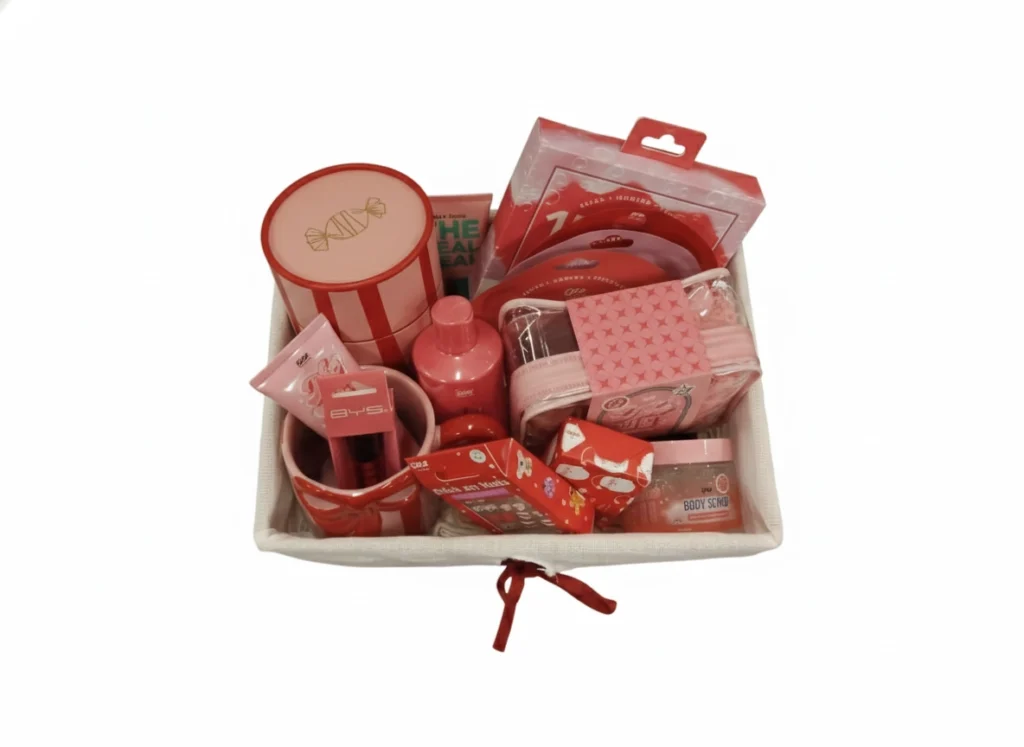
Place the Back Row: Start by placing the largest and tallest items (like the round red box or any bulky kits) toward the back and center of the basket. These items act as the anchor and create a high backdrop.
Ensure Visibility: Turn all products so their attractive labels and fun packaging are facing directly forward.
Step 3: Layer in the Medium-Sized Products
Build the Middle Row: Arrange the medium-sized, flatter items (like the “Stick on Nails” pack or smaller makeup items) in the middle row, positioned in front of the tall anchor items.
Create Varied Heights: Use the tissue paper filler underneath these items to lift them slightly. This tiered arrangement makes the handmade basket visually appealing.
Step 4: Tuck in the Smallest Treats
Fill the Gaps: Place the smallest items—lipsticks, balms, or tiny accessories—into any remaining spaces near the front and sides. These items add lovely detail and make the Christmas Gift Basket look abundant.
Final Adjustment: Gently check that every item is visible and the overall arrangement is balanced.
Add a Personal Touch
- Attach a Tag: Don’t forget a personal and thoughtful handwritten gift tag! This simple addition elevates the DIY gift and shows you care.