How to Make a Valentine’s Day Charcuterie Board (Easy & Pretty)
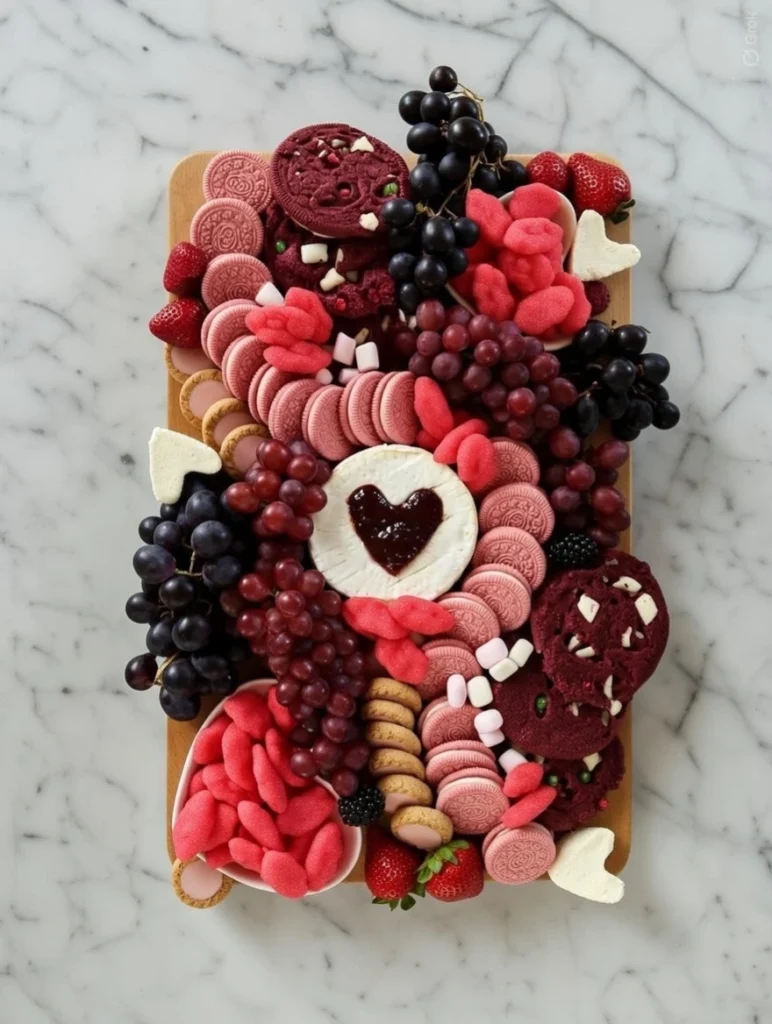
A Valentine’s Day charcuterie board is the perfect way to create a romantic, shareable spread without needing to cook or bake. This board is all about pink, red, and white tones, playful sweets, and a few simple tricks that make it look extra special with very little effort.
Whether you’re making this for date night, Galentine’s Day, or a cozy night in, here’s exactly how to recreate this Valentine’s charcuterie board step by step.
What You’ll Need
Fruits
- Red grapes
- Black grapes
- Strawberries
- Raspberries
- Blackberries
Cheese
- 1 wheel of brie
- Ricotta cheese
Sweets & Treats
- Pink Oreos
- Large red cookies
- Red lip-shaped candy
- Red gummy or puffy candy
Tools
- Heart-shaped cookie cutter (small to medium)
- Small spoon
- Wooden board or serving platter
- Small bowls (optional)
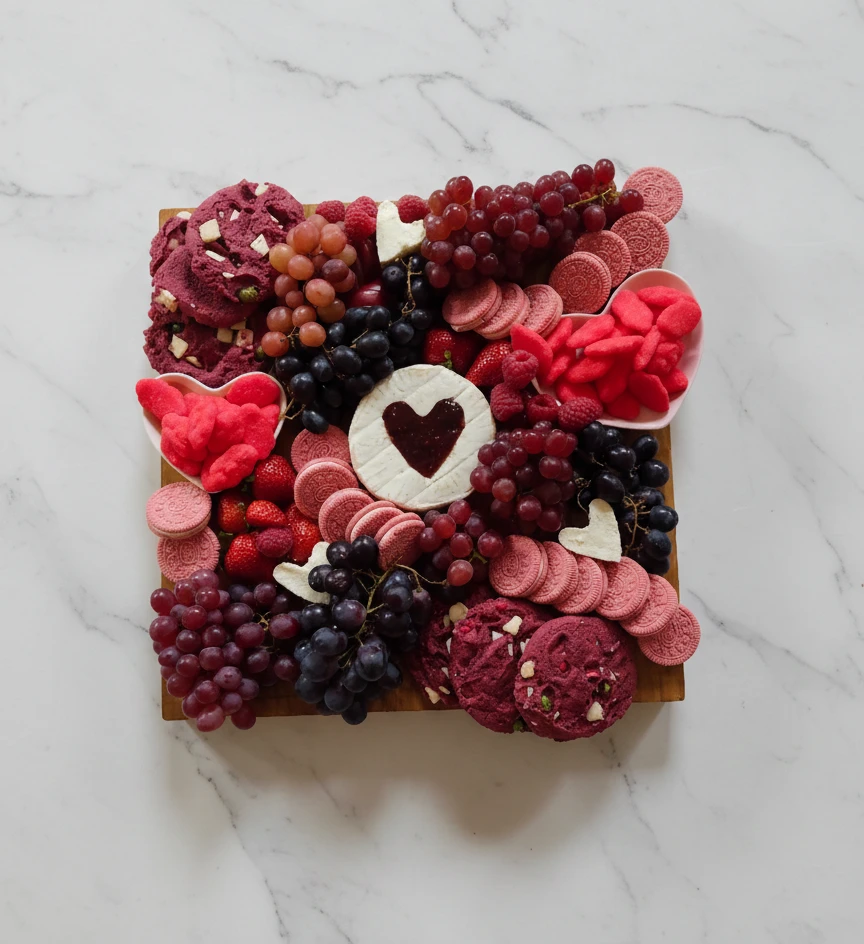
Step 1: Start With the Cheese
Cheese acts as the anchor for your board, so it’s best to place it first.
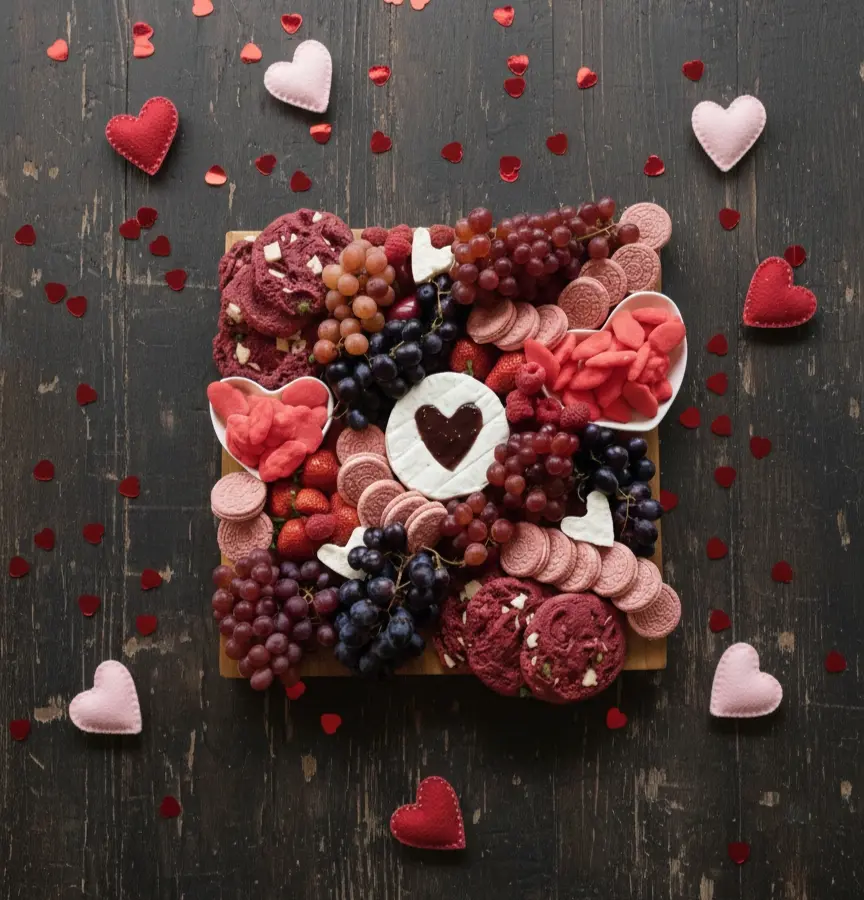
- Brie Heart Centerpiece:
Use a heart-shaped cookie cutter to cut a heart out of the centre of the brie wheel. Fill the cut-out space with raspberry jam for a bold pop of red and a sweet contrast to the creamy cheese. This instantly becomes the focal point of the board. - Ricotta Hearts:
Press ricotta into a shallow layer and use the same cookie cutter to create small white hearts. These add contrast, softness, and a handmade touch that elevates the whole board.
Step 2: Add the Grapes (They’re a Game-Changer)
Grapes are one of the most underrated charcuterie ingredients—and they really shine here.
- They’re vibrant, instantly filling space with rich colour
- They add natural shape and texture, helping the board look abundant
- They’re great value when in season, making the board look luxe without the cost
Use both red and black grapes and leave some on the vine for a more organic, styled look. Tuck them around the cheese and along the edges of the board.
Step 3: Fill in With Berries
Scatter strawberries, raspberries, and blackberries throughout the board.
- Strawberries add size and bright red colour
- Raspberries and blackberries fill small gaps beautifully
- The mix of textures keeps the board visually interesting
This combination also balances sweetness with freshness.
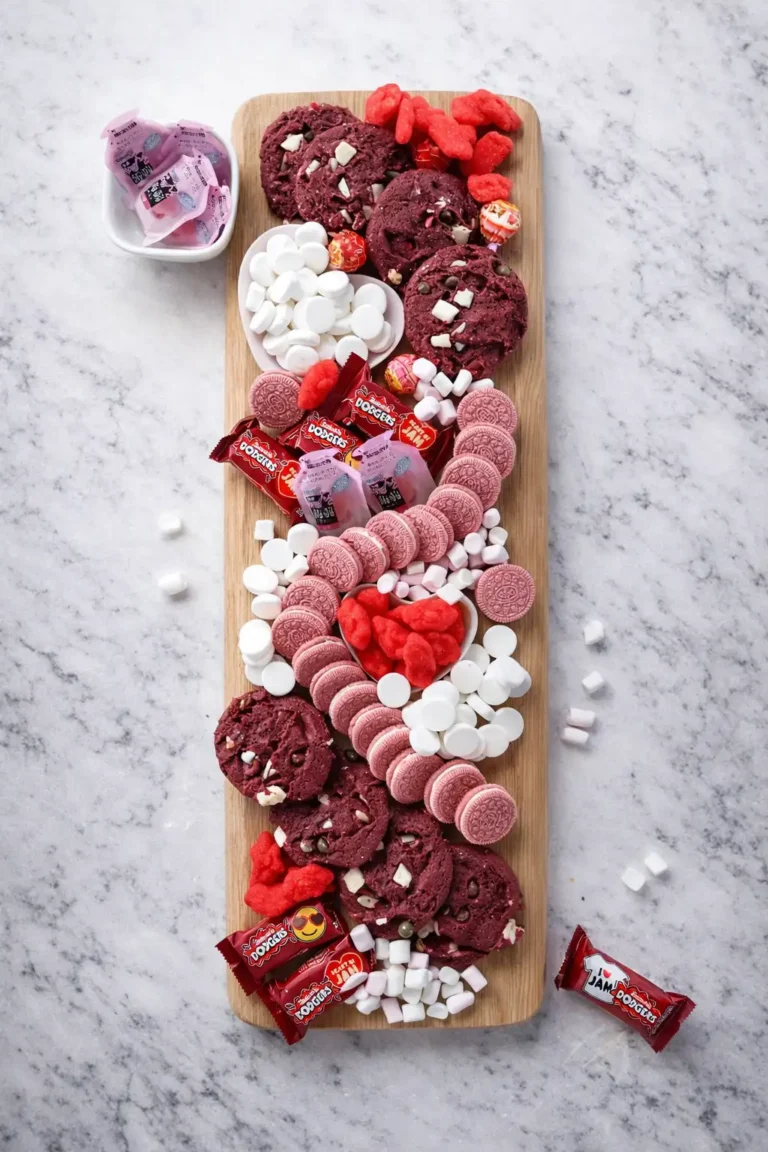
Step 4: Layer in the Sweets
Now comes the fun part.
- Fan out pink Oreos for a soft, pastel contrast
- Stack or overlap large red cookies for height
- Add lip-shaped candy for a playful Valentine’s touch
- Use red gummy or puffy candy to fill remaining spaces
Try to group similar items together while slightly overlapping them—this makes the board feel intentional rather than cluttered.
Step 5: Final Touches & Styling Tips
- Use small bowls for extra berries if you run out of board space
- Aim for balance: alternate colours and textures as you go
- Don’t overthink it—full and slightly overflowing always looks better
Why This Valentine’s Charcuterie Board Works
- Minimal prep, no baking required
- Budget-friendly with seasonal fruit
- Perfect mix of sweet, creamy, and fresh
- Eye-catching enough for Instagram or Pinterest
This board proves you don’t need fancy ingredients to create something beautiful—just thoughtful colour, texture, and a couple of clever cookie-cutter tricks.
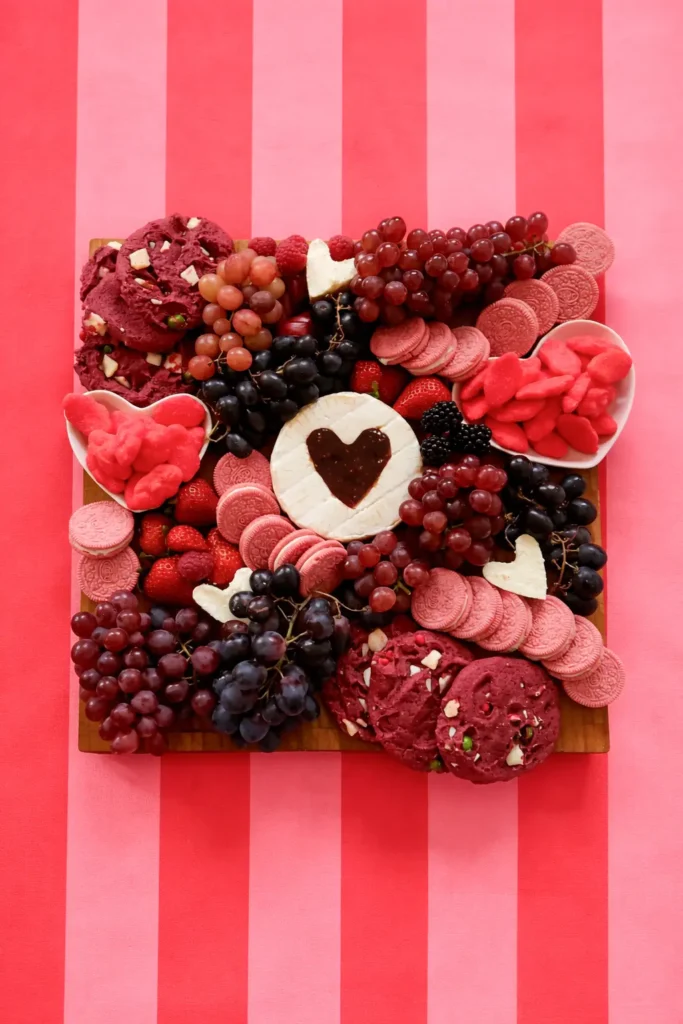
Variations
Try a long board or round board instead of square for a different aesthetic.